We'd all like to pretend that trips to IKEA are for romantic days filled with staged rooms that are simply for playing house with our friends and significant others. But chances are you're not going to be walking hand-in-hand with Joseph Gordon-Levitt past the bedroom displays without a care in the world.
If you live outside a 50 mile radius of the signature blue and yellow store, you know that IKEA is for big, home changing trips only. And once you get there, it's game time.
If you've never been to an IKEA you might think- hmm reasonably priced, modern scandinavian furniture. What's the big deal? In truth, IKEA is an underworld of mass consumerism where Swedish brainwashing causes us to go broke, end relationships of many years, and loose all directional (and mental sense) in the IKEA maze — all the while, the employees stand there, devilishly licking lingonberry jam off their fingers.
But I'm here to tell you that there is a way. You can be successful at IKEA. But the journey begins before you even so much as look at a meatball.
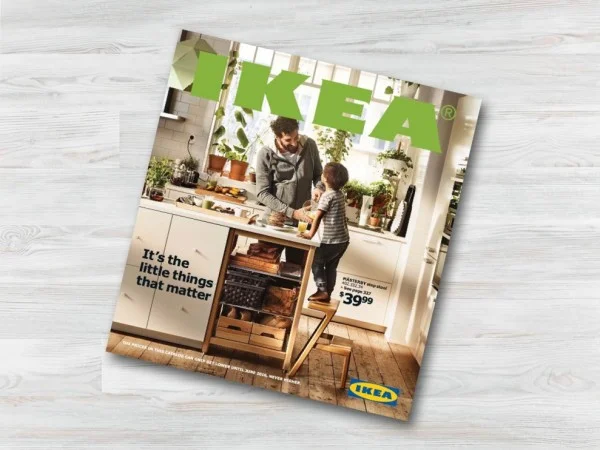
STEP 1: Look through the Catalog
The IKEA Catalog is a wonder within itself. With pages full of out-of-focus families, and warm kitchen settings front and center — you can find a lot of inspiration here before your trip. You can usually do a PDF download off of the site.
STEP 2: Identify Your Style
Do you want light and airy, or rich and moody? Identifying a style can help you easily pick out the things you like in a flood of overwhelming options. And, you'll thank yourself later when you get home and find that everything looks great together. Getting off-track in the store is the easiest way to end up with a pink shag rug, leather green chairs, and black furry pillows (actually I think I just described something awesome.)
STEP 3: CRAIGSLIST
I think you'll find that in any of my home-decorating lists, Craigslist is always a very important step. Because no matter how great Ikea's prices are, Craigslist can beat it. Save the small purchases for the store, but the big items might be worth a glance at the classifieds.
For Example:
After completing step 1 & 2, I knew exactly what couch I wanted. The Karlstad. I figured $400 was probably a good price, but I still couldn't afford on my recent grad budget. The best way to search through Craigslist is to just type "IKEA" into the search bar, because "Karlstad" is never going to happen
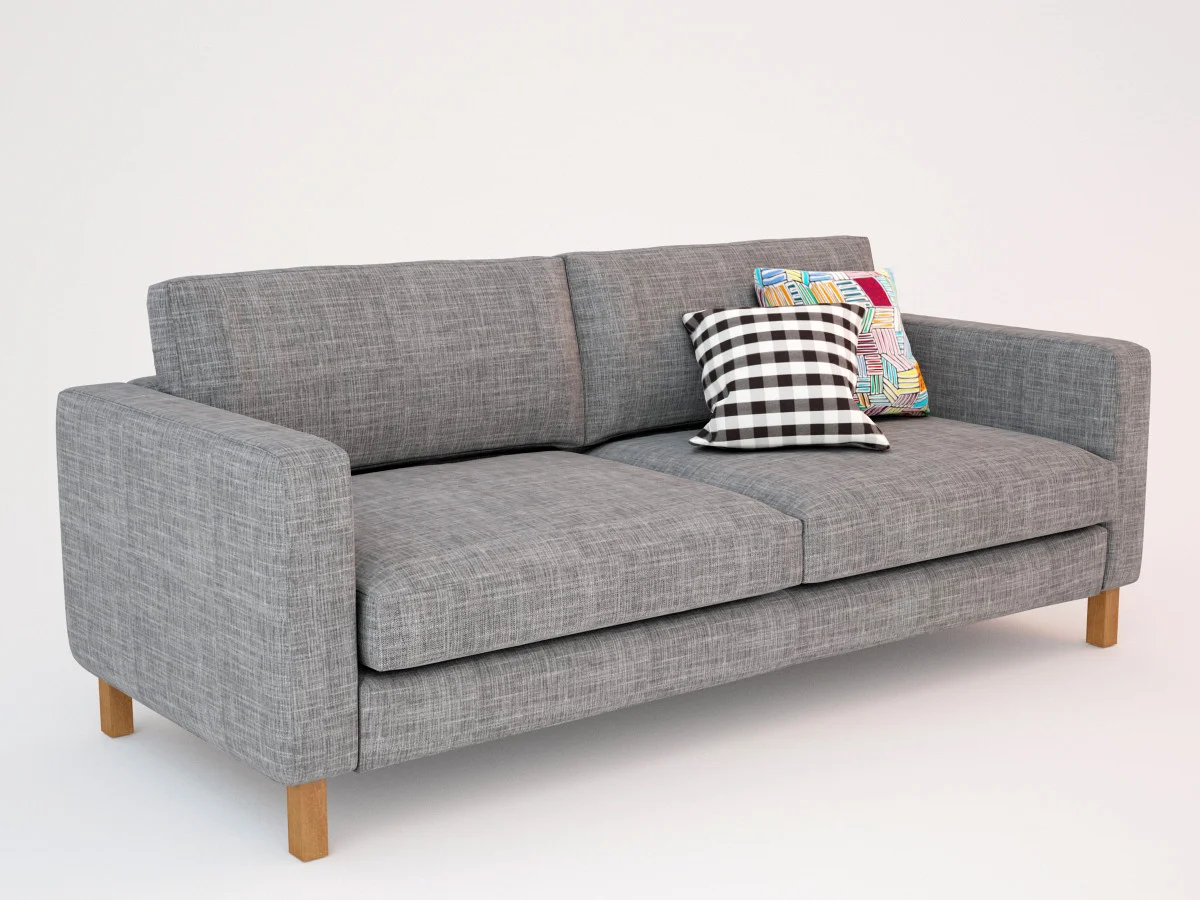
I came across a girl's post who was selling a "lightly used" Karstad sofa with a white high-gloss table, also from IKEA. I think she was asking $300, but I negotiated down to $250 for both and ended up with two of my most needed pieces at less than half the price.

Scoring the additional table was just a bonus. Usually selling at Ikea for $200.
STEP 4: Actually go to IKEA

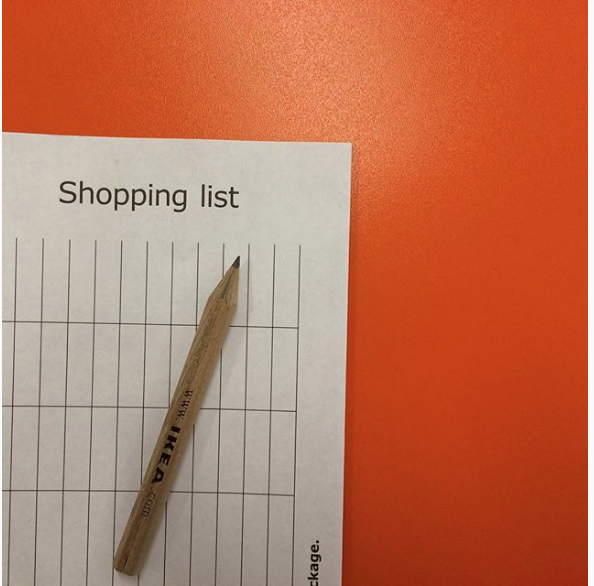
Step through the IKEA doors with nothing but the essentials. You'll need your hands free, so I suggest wearing a mini backpack with your phone, keys, wallet, a power bar, a piece of chocolate (because this will require stamina), and a bottle of water. Head up the escalator and before you look anywhere, get your blue bag, sheet of paper, and tiny pencil. You are ready to begin.
STEP 4: The Showroom

The Showroom is the first of 3 legs in the IKEA journey. This is where you'll find those famous staged bedrooms, kitchens, and living rooms — all interconnected by the main paths and occasional shortcuts.
You may step into the first model kitchen and immediately go into sensory overload. You'll tell yourself it's fine and that you'll just slowly go through each and every room to make sure you see everything. This is where previously identifying your style and looking through the catalog can save you time and worry. My tip: Only go through the rooms that visually appeal to you, chances are you'll still get a good look at all the products that you wanted to see. Oh and definitely write down the product numbers on your mini pad, you can also just snap a picture of the tag so you know exactly which items to look for later.
Everything here is for display so don't start pulling the pillows in your shopping bag- because they will publicly shame you (yes it happened.)
STEP 5: Meatballs

After you've crawled out of the show room, it's time for lunch. You've probably already eaten the snacks you packed and guzzled your water to the very last drop. You also probably need to pee, because for some reason there is only a bathroom and the beginning and end of the maze (unless you count the display bathrooms -- which you really shouldn't- please).
Lunch is cafeteria style. It will remind you of middle school, if at middle school they had 15 Swedish meatballs for $4. Most people fill their trays with those, along with lingonberry jam and chocolate cake. Get the chocolate cake, it will come in handy soon.
STEP 6: My Patented Ranking System
You can do this alone, but my particular strategy was developed with negotiating in mind. This is the key to coming out alive together. Take out the list you made while in the show room and calculate what your current spending would be. If it's $400, get it down to $250, and if it's $250 get it down to $100. The way to do this together, effectively, with little to no arguments is the Ranking System.
Now, the Ranking System only works if you agree to be honest with yourself about what qualifies as a "neccessity." Okay here is the scale.
Rank your list of items between 1-3
1 = Necessity (Usually these are previously agreed upon items like a new couch or bed)
2 = You really like this item, you could probably live without it if you needed to, but maybe not. (living room chair, coffee table)
3 = This is a cool item that you could probably use. (laptop tray, storage cart).
Share your scores with your partner with a small explanation.
Keep all of your 1's. Assess your budget for how many 2's you can keep. Get rid of all 3's unless they are small and cheap.
STEP 7: Downstairs (The Marketplace)
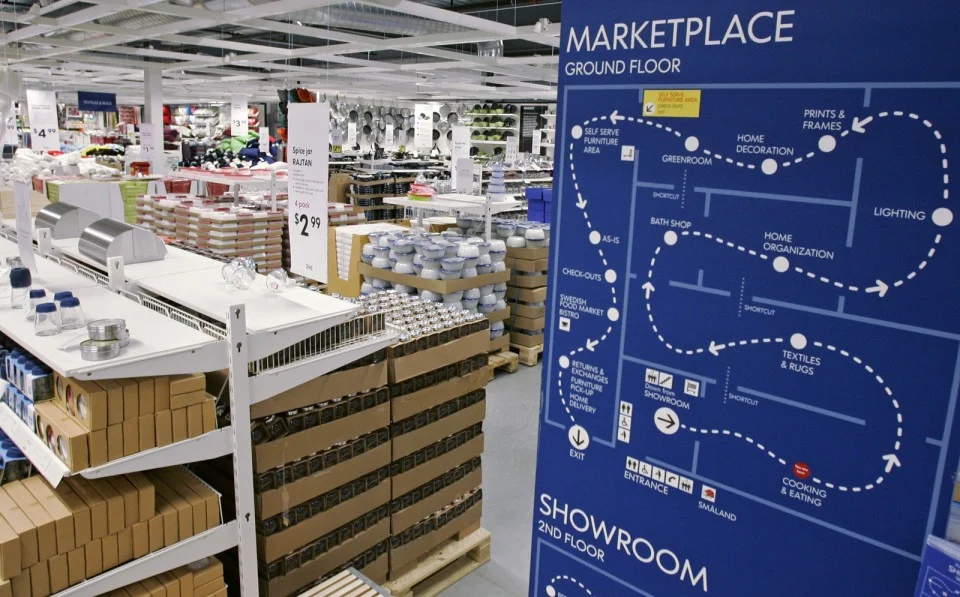
It's time to actually get a cart, and buckle in your (figurative) self restraint. Downstairs is my personal favorite place at IKEA, it's also the most dangerous place. Small, grab-sized home wares with low price tags line the shelves. While there are going to many temptations in the form of fake plants and funky lighting - you must exercise caution. However, there are a few small goodies no self-respecting IKEA shopper should ever leave without.
1. Tea Lights - $3.49 for 100 tea lights. These nuggets will always have a use in your home. They're great for power outages, and simply setting the mood.
2. Hangers - You'll get 8 for $4.99, which may not seem like such an amazing price until you actually use them. My clothes always stay on them, even big coats, and you can't deny the visual impact of actually having matching hangers in your closet.
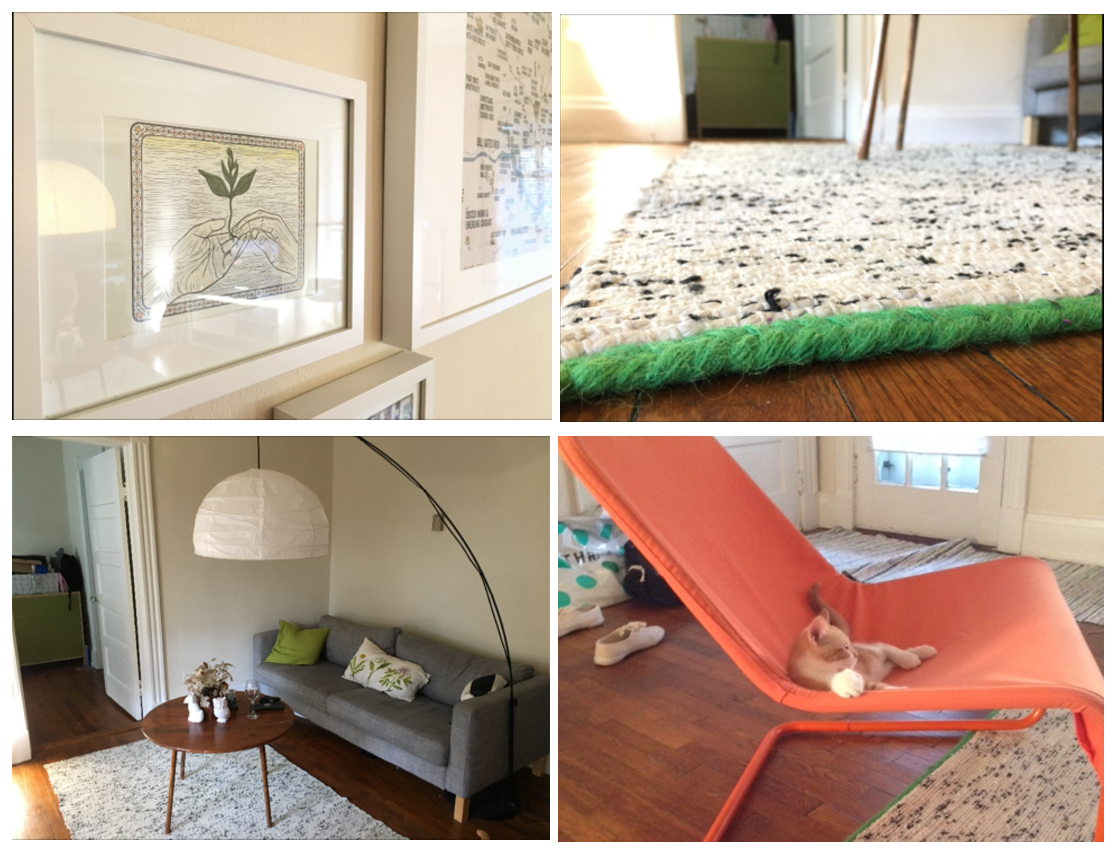
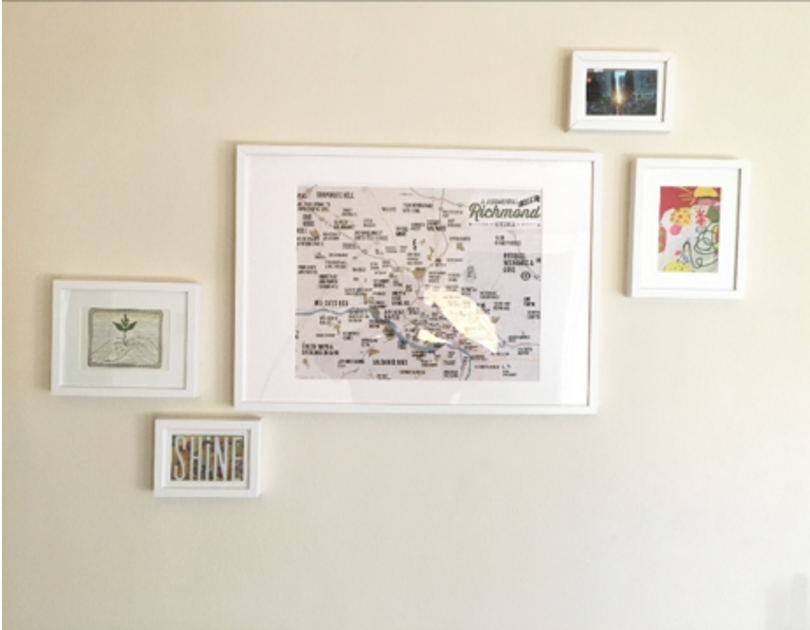
3. Picture Frames - Low price, high visual impact. I picked up several different sizes of the white RIBBA frames and was able to make one of those elusive gallery walls.
STEP 8: The Warehouse
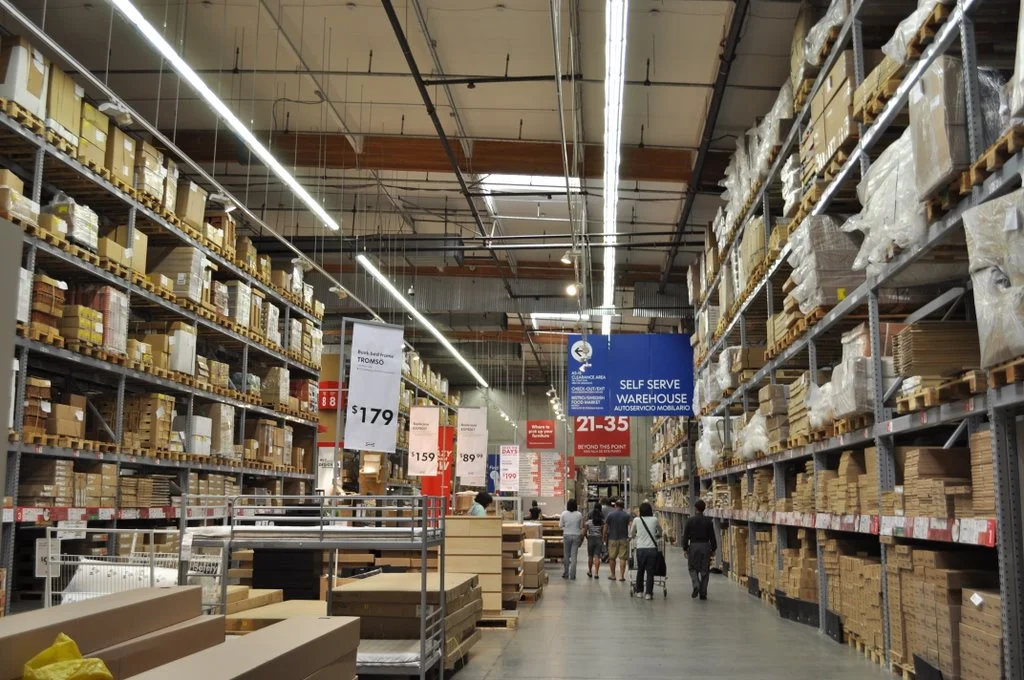
This is the last big leg of your journey. But hopefully, if you remembered to write down all the product numbers and take pictures of the tags, it can be short and painless.
The IKEA Warehouse is filled to the sky with matching, flat cardboard boxes. If you're lucky, you'll get a picture of the product hanging above a few stacks, but other than that you're on your own. That's why taking a photo of the product tag is a good idea. You'll remember what the item was and it will tell you which aisle to find it in.
STEP 9: The As-Is Section
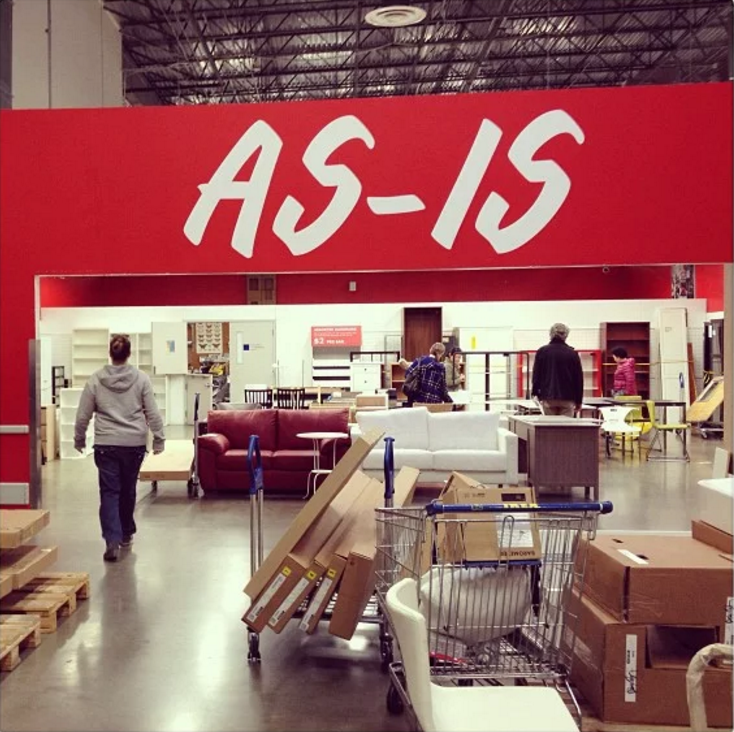
This is your last stop. Tucked away from the hustle and bustle at the registers, the As-Is section is a little slice of returned-good paradise. This is where they put all the stuff that people bought, assembled, and returned — and everything is marked down. This is where I unexpectedly fell in love with an orange chair, that would eventually become the favorite napping spot for my orange cat. Originally $60 I got it for $34.
Then there's your last chance to put back any other things you don't need before you do your final spending tally. Then breeze through the register, and if you made it this far, still together, split the damage with your partner. And if you're by yourself, feel free to make a last minute purchase of chocolate and more fake plants because there's no one there to stop you.
Oh, and everyone should just skip that extra, post-checkout food section because lingonberries and pear cider are just kind of gross anyway.
Step 10: Time to leave the nest
The signature IKEA assembly man
Thanks to IKEA's method of flat packaging, even the tiniest cars can do some heavy lifting. Get one person to back the car up into the loading zone, fold the seats down, and make it work. This may difficult if you scored big in the as-is section, but seats can be scooted and you'll discover parts of your car you didn't even know existed.
Then drive home without residual arguments, and comfort in the knowledge that you did the unthinkable. You survived IKEA.
Up to this point I have guaranteed that these steps would avoid breaking your bank, and your relationship. But once you guys get home, and start assembling...
I'm responsible for nothing.
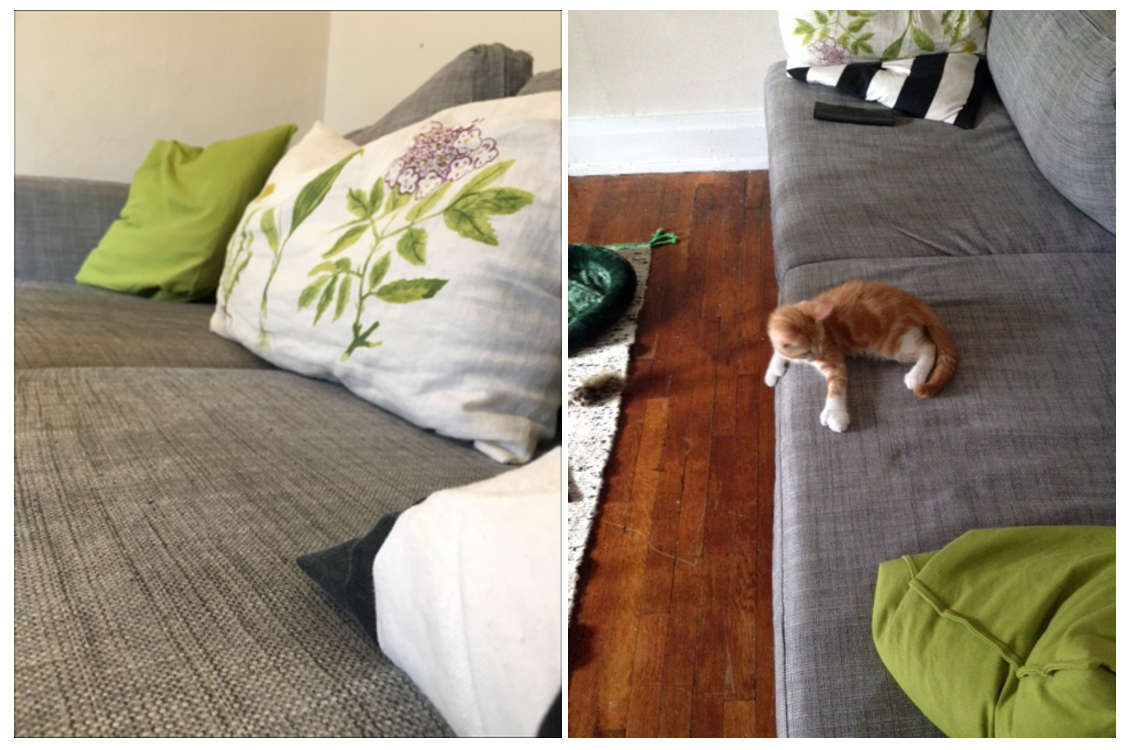
Check out some pictures of my home ft. IKEA (and Monty)